src/cpp/cuda.hpp:14:10: fatal error: cuda.h: 没有那个文件或目录 #include <cuda.h> ^~~~~~~~ compilation terminated. /tmp/pip-build-env-lze7ntp3/overlay/lib/python3.8/site-packages/setuptools/command/build_py.py:207: _Warning: Package 'pycuda.cuda' is absent from the `pa ckages` configuration. !!
******************************************************************************** ############################ # Package would be ignored # ############################ Python recognizes 'pycuda.cuda' as an importable package[^1], but it is absent from setuptools' `packages` configuration. This leads to an ambiguous overall configuration. If you want to distribute this package, please make sure that 'pycuda.cuda' is explicitly added to the `packages` configuration field. Alternatively, you can also rely on setuptools' discovery methods (for example by using `find_namespace_packages(...)`/`find_namespace:` instead of `find_packages(...)`/`find:`).
You can read more about "package discovery" on setuptools documentation page:
If you don't want 'pycuda.cuda' to be distributed and are already explicitly excluding 'pycuda.cuda' via `find_namespace_packages(...)/find_namespace` or `find_packages(...)/find`, you can try to use `exclude_package_data`, or `include-package-data=False` in combination with a more fine grained `package-data` configuration. You can read more about "package data files" on setuptools documentation page: - https://setuptools.pypa.io/en/latest/userguide/datafiles.html [^1]: For Python, any directory (with suitable naming) can be imported, even if it does not contain any `.py` files. On the other hand, currently there is no concept of package data directory, all directories are treated like packages. ******************************************************************************** !! check.warn(importable) error: command '/usr/bin/gcc' failed with exit code 1 [end of output] note: This error originates from a subprocess, and is likely not a problem with pip. ERROR: Failed building wheel for pycuda Failed to build pycuda ERROR: Could not build wheels for pycuda, which is required to install pyproject.toml-based projects
解决思路:
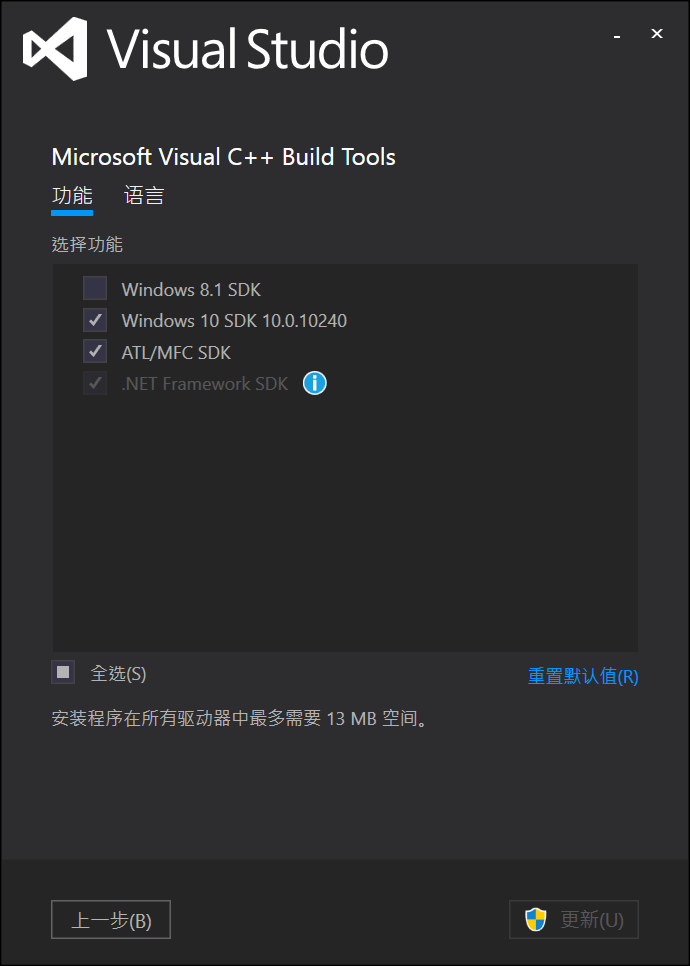
required to install pyproject.toml-based projects这个问题主要出现在C++构建工具未安装
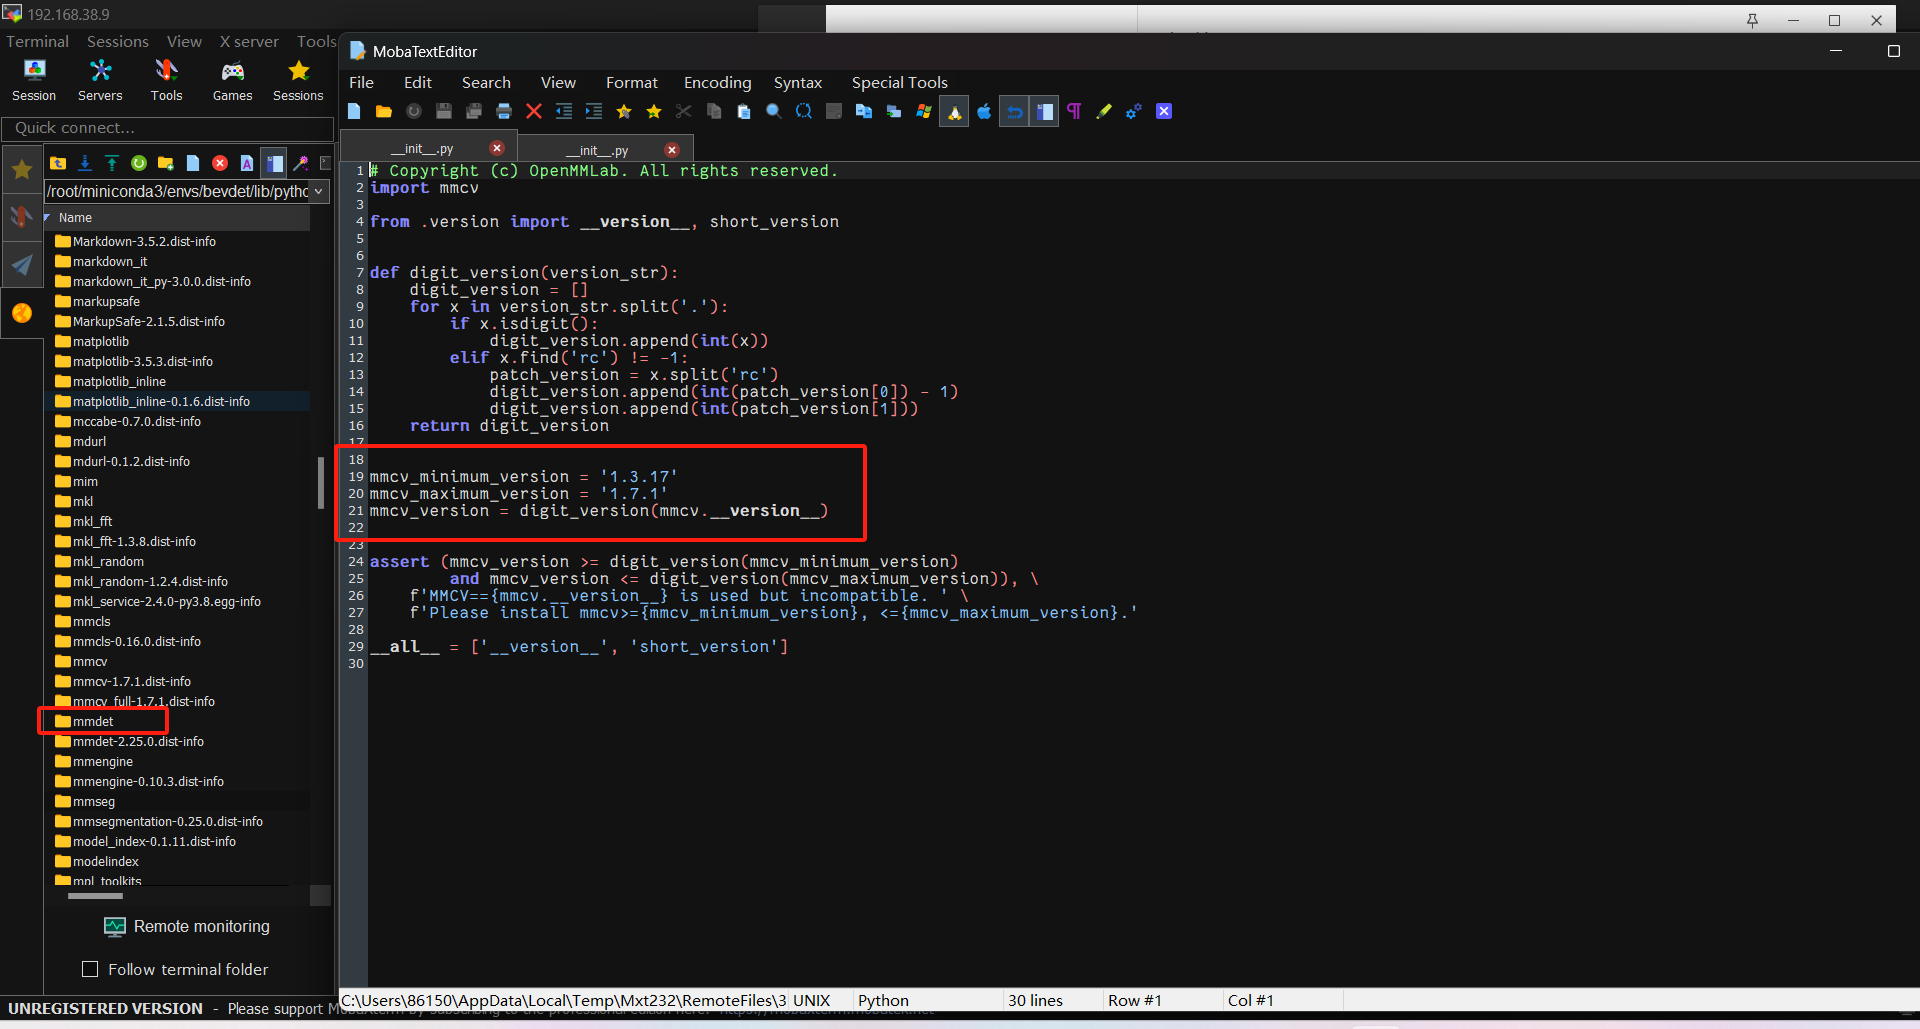
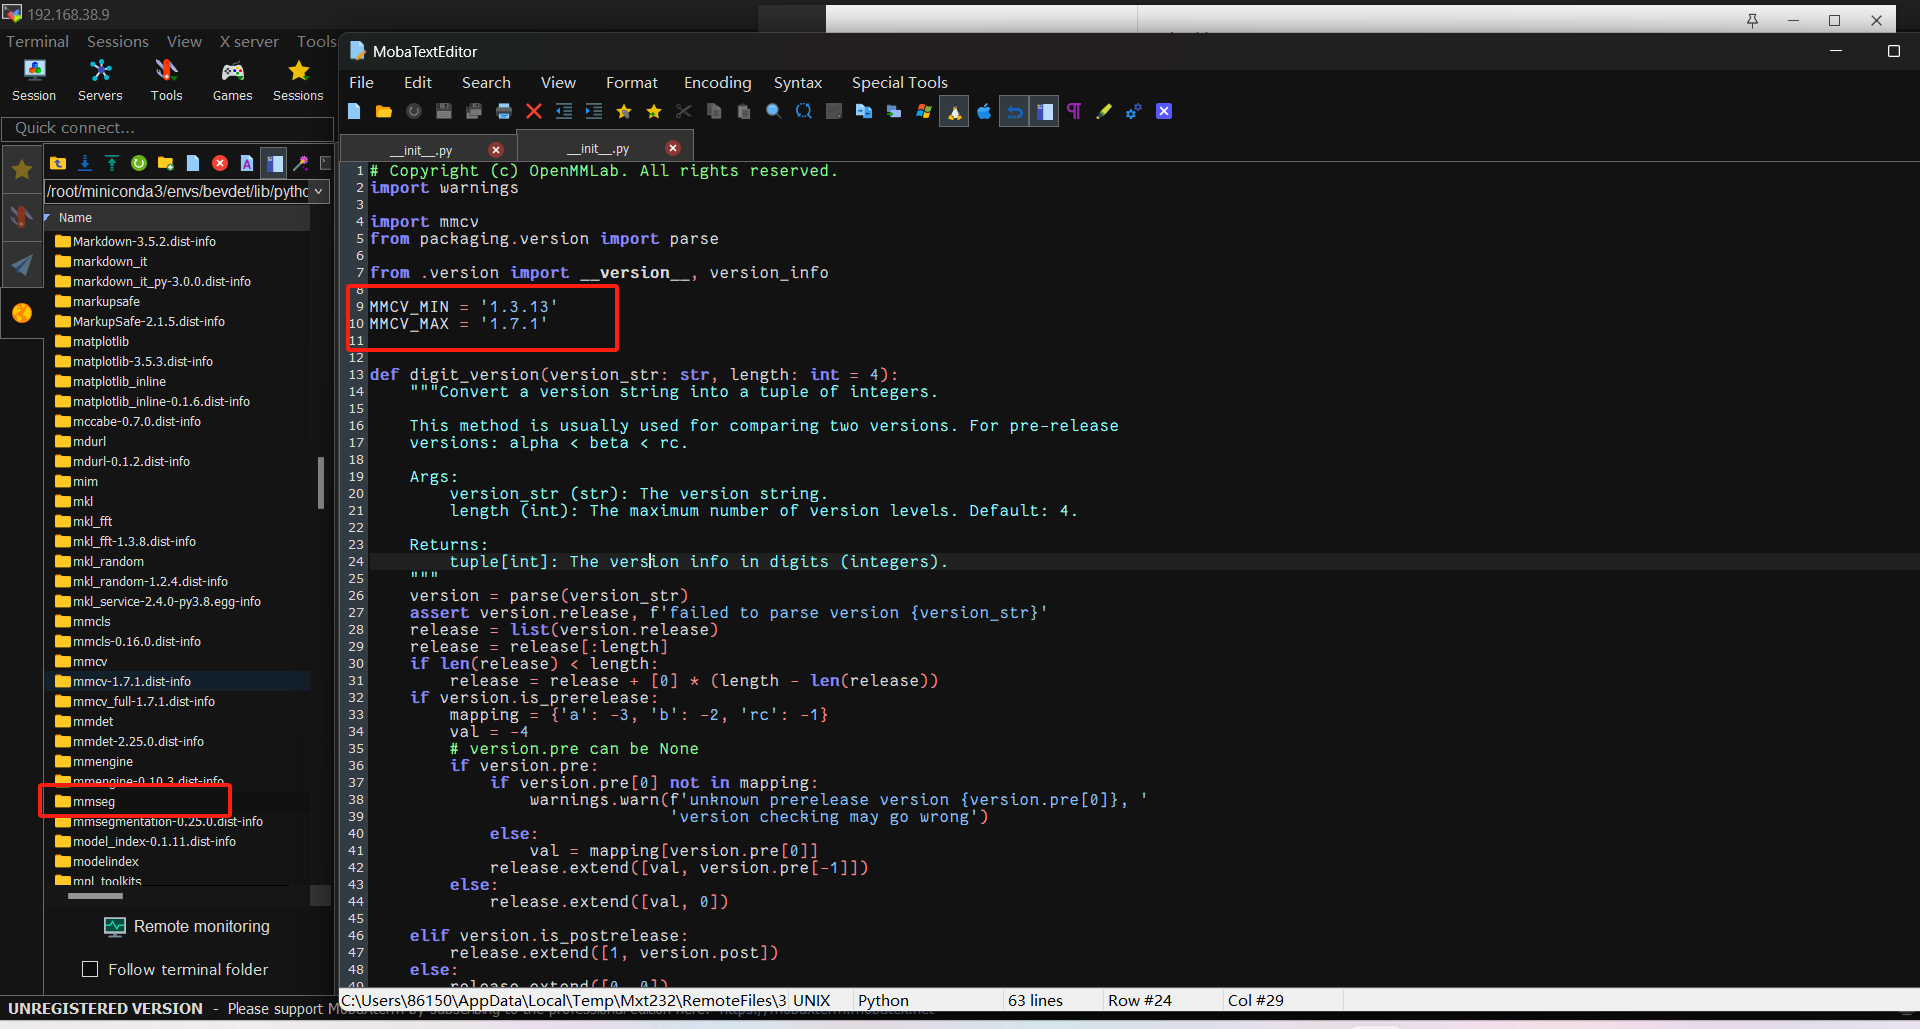
(bevdet) root@wahaha-System-Product-Name:/media/wahaha/222/BEVDet/bev/BEVDet2/BEVDet# python tools/create_data_bevdet.py                                   /root/miniconda3/envs/bevdet/lib/python3.8/site-packages/mmcv/__init__.py:20: UserWarning: On January 1, 2023, MMCV will release v2.0.0, in which it will remove components related to the training process and add a data transformation module. In addition, it will rename the package names mmcv to mmcv-lite and mmcv-full to mmcv. See https://github.com/open-mmlab/mmcv/blob/master/docs/en/compatibility.md for more details.
  warnings.warn(
Traceback (most recent call last):
  File "tools/create_data_bevdet.py", line 9, in <module>
    from tools.data_converter import nuscenes_converter as nuscenes_converter
  File "/media/wahaha/222/BEVDet/bev/BEVDet2/BEVDet/tools/data_converter/nuscenes_converter.py", line 14, in <module>
    from mmdet3d.core.bbox import points_cam2img
  File "/media/wahaha/222/BEVDet/bev/BEVDet2/BEVDet/mmdet3d/__init__.py", line 4, in <module>
    import mmdet
  File "/root/miniconda3/envs/bevdet/lib/python3.8/site-packages/mmdet/__init__.py", line 24, in <module>
    assert (mmcv_version >= digit_version(mmcv_minimum_version)
AssertionError: MMCV==1.7.0 is used but incompatible. Please install mmcv>=1.3.17, <=1.6.0.


 微信打赏
微信打赏